You are given four unique options for downloading your output files for each completed analysis. These options have certain benefits and limitations that make them appropriate for different circumstances, as explained in the table below.
| Download method | Benefits | Limitations |
|---|---|---|
| Web browser | The easiest option for many users | No ability to resume failed or interrupted downloads, Unreliable for large files, Limited to one file at a time |
| 10x Genomics Cloud CLI | Reliable for large files, Allows you to resume failed or interrupted file downloads | Requires installation and use of the 10x Genomics Cloud CLI |
| curl | Reliable for large files, No external software required | No ability to resume failed or interrupted downloads |
| wget | Mostly reliable for large files, No external software required | No ability to resume failed or interrupted downloads, Less reliable than 10x Genomics Cloud CLI and curl |
Individual files can be downloaded directly through your web browser. This option is most appropriate for small files such as the web_summary.html.
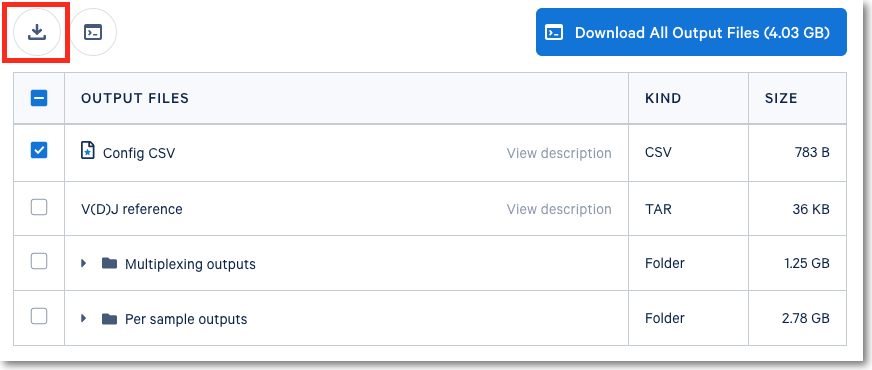
In order to download an output file through your browser, select any file in your output files table and click on the Browser Download button, highlighted in the screenshot below.

This button will be temporarily disabled when multiple files or folders are selected.
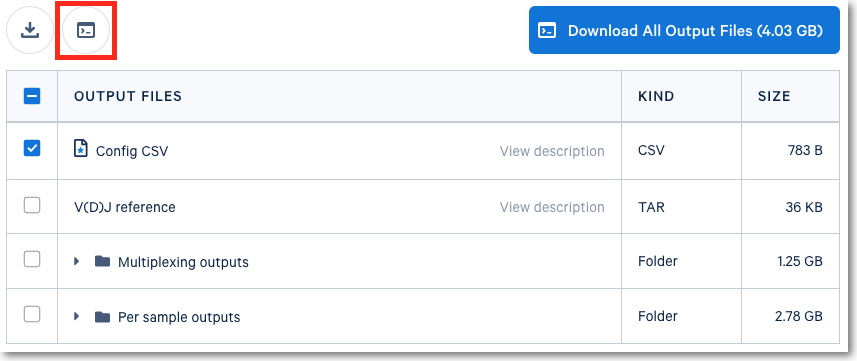
Any number of output files and entire output directories can be downloaded through the CLI options. After selecting one or more output files or folders, you can generate commands for your downloads using a CLI by clicking on the CLI Download button

Next you will encounter a dialog box asking you to select your operating system and preferred download method.
The recommended CLI download method is using the 10x Genomics Cloud CLI. This tab will contain a txg command that you can copy and paste into your terminal, and this download method provides advanced features that are not contained in the alternative download options.
If you prefer to use curl or wget, or if you are downloading on a machine that does not have the 10x Genomics Cloud CLI installed, these options are available on the CLI download dialog.
If you have not installed the 10x Genomics Cloud CLI and wish to use it to download your analysis output files, please follow the instructions below.
The 10x Genomics Cloud CLI is a command line tool that allows you to download output files, upload custom references and FASTQ files to your 10x Genomics account, create projects from the command line, and manage other tasks related to your 10x Genomics account.
It is an executable that can be run directly and requires no compilation or installation.
Windows
Below is a step-by-step video guide which demonstrates how to install and run commands in the 10x Genomics Cloud CLI for Windows operating systems.
1. Download and unpack the 10x Genomics Cloud CLI
Download the 10x Genomics Cloud CLI for your operating system and unpack it to a convenient location. Make sure you download the 10x Genomics Cloud CLI for the operating system where your data lives. Your Documents folder is a good default location.
Optionally, install the binary in a location where you can execute it globally (e.g., /usr/local/bin).
If you’re using a Windows system, download the latest version here:
10x Genomics Cloud CLI for Windows v2.0.0
Alternatively, open the Command Prompt (cmd.exe) and use the command below to download:
curl -f -o txg-windows-v2.0.0.zip https://cf.10xgenomics.com/cloud-cli/v2.0.0/txg-windows-v2.0.0.zip
2. Execute command to download files
To execute commands, navigate to the 10x Genomics Cloud CLI directory in your Command Prompt, then copy and paste the command that is provided to you in the download dialog in Cloud Analysis. An example is provided below:
txg.exe analyses download Qd99qUXk4ThupsFmtsOh7PA --file-id Zcc2qNy99R5Ge1R4995lLapQ
3. Enter your access token
The first time you use the 10x Genomics Cloud CLI, you will be prompted to provide an access token, which verifies your identity. The access token can be found in your Account Settings.
4. Confirm and start downloading
After verifying your identity, you will be able to download files with the download command provided in Cloud Analysis. All the files will be saved to the same directory where the 10x Genomics Cloud CLI is located. Alternatively, you may specify a download location of your choice using the optional --target-dir command.
You are about to download the following 1 file(s):
Analysis ID: 41df6a51-7938-4e1b-a9b0-59adb0e87b3c
Analysis name: "Test Analysis"
Number of files: 1
Destination: /Users/user.name/txg-macos-v2.0.0/test_analysis
config.csv (669 B)
Total Size: 669 B.
You have 6.08 GB of free output downloads remaining for this analysis.
After this 669 B download, you will have 6.08 GB of free downloads remaining.
Proceed? [y/N]
After pressing 'y' to proceed with the download, you will see a success message:
Starting download...
config.csv (669 B) Done
Your analysis download has successfully completed!